
It’s about time to bid farewell to my mid-2012 MacBook Pro. The device has aged and I don’t want to change the battery. It works flawlessly nonetheless. What’s new? A Thinkpad X230 Tablet! Skip introduction.
Looking to install Catalina? You could take a look at this Hackintosh guide for ThinkPad X230. The guide is applicable to X230 Tablet variants also.
I’m already happy with my Xeon PC and T530 workstation but needed something lightweight, and powerful while I’m on the go. Hence the refurbished X230t I found on Taobao. I purchased a system with no memory and HDD.
Credits go to Jack Zhang for providing the EFI files.
X230t Specs
- i7-3520m (Similar to a 13″ mid-2012 MacBook Pro)
- 16GB RAM
- Samsung PM810 Series 256 GB SSD
- KingSpec 128GB mSATA SSD

My X230T is a 12.5 Multitouch HD model that came with the fingerprint reader.
What Doesn’t Work?
- WiFi, you can hack BIOS and install a Mac-compatible WiFi card
- FaceTime & iMessage
- Card reader
- Fingerprint reader
Before You Install Mojave 10.14.3
Kindly note that WiFi won’t work after installing Mojave. Ethernet LAN will work.
So, be prepared if you just own one machine for the whole process. I highly recommend you to get hold of another device for preparing USB, and downloading MacOS DMG, EFI folder, Clover configurator files.
Before You Do Anything
1. Go to BIOS settings → Restart → Load Setup Defaults

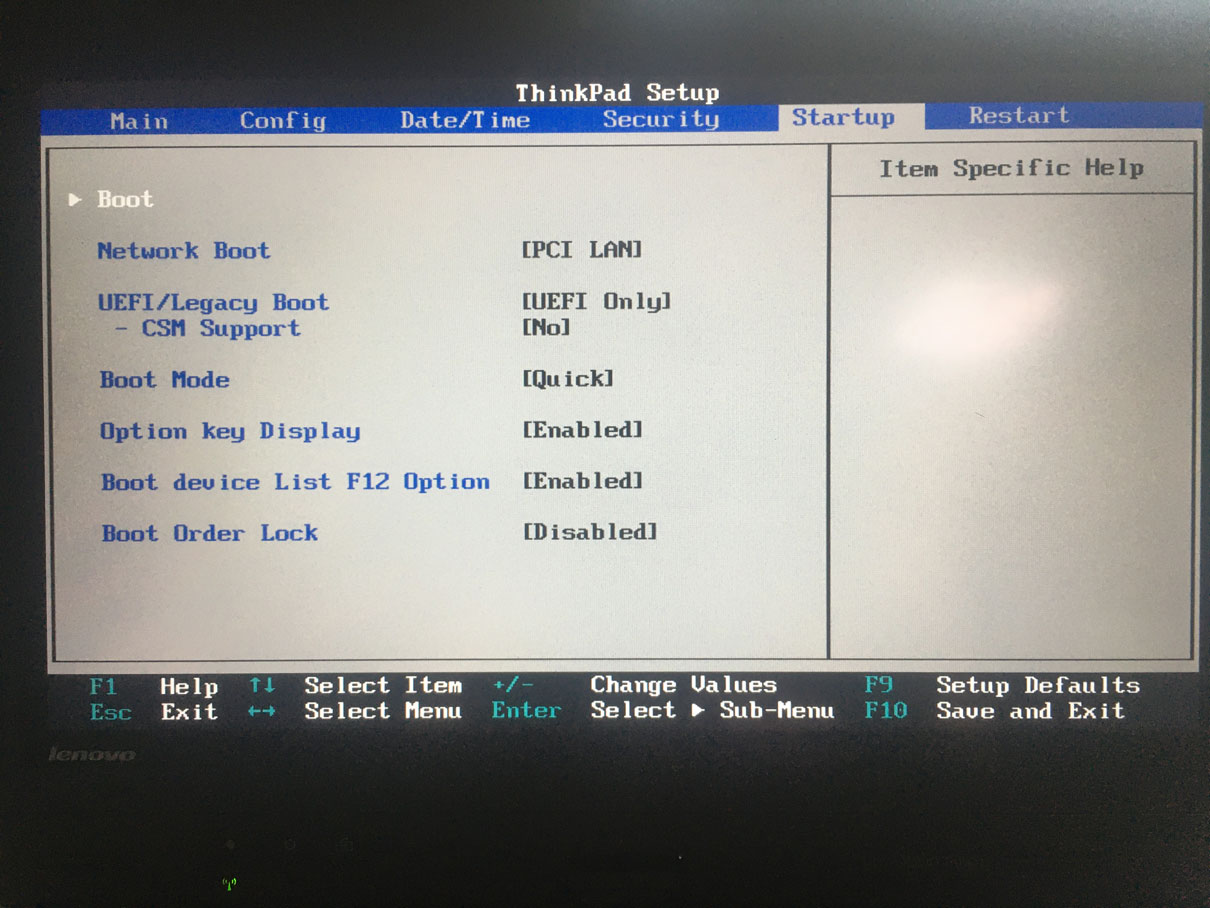
2. Go to BIOS Settings → Startup, select UEFI only disable CSM support.
Hackintosh Guide for ThinkPad X230t Tablet
1. Install Transmac on a Windows machine. It has a 15-day trial period and works flawlessly flashing DMG files to USB.
2. Download the macOS Mojave 10.14.3(18D42) Installer with Clover 4859.dmg.
3. Download the EFI folder.
4. Download Clover Configurator for macOS (latest version).
5. Connect a 16GB USB flash drive.
6. Open Transmac. In the left pane, right-click the USB Drive and select Format Disk for Mac
7. Again in the left pane, right-click the USB Drive and select Restore with Disk Image. Then select the DMG file I mentioned in (2). The flashing process will take a few minutes depending on the size of .dmg and speed/port of the USB drive.
8. Install DiskGenius.
9. Locate the USB drive in DiskGenius. Delete the EFI folder and replace it with the new EFI folder. Refer to this video.
10. Plug the USB drive into the X230t and boot from USB.
11. Install the macOS Mojave, and restart the system.
12. Connect the Hackintosh system to the Internet via LAN cable or a Mac-compatible external WiFi adapter.
13. Download Clover Configurator and refer to 6:32 of this video.
14. You may use Karabiner-Elements if the keyboard mappings (command and option) are acting up.
Tip Me:
Support if you’d like by referring my resume or donating through PayPal, Phonepe, or Alipay.