⚠️ I don’t have access to my X230 anymore. Please don’t expect updates.
I know you’re here for the EFI folder or Clover configuration file. Hang on, let’s start with the backstory, shall we? (Or skip the lame intro)
To put you into perspective; I own a ThinkPad X230 Tablet. But I hate the bulky 6-cell battery it came with. So I purchased an X230 i7 model without memory and SSD. Then I upgraded the device to a 2 x 8GB 1600 Mhz memory + 256 GB mSATA + 256 GB 2.5″ SSD beast of a machine.
The Catalina Journey
Even though I prefer Mojave 10.14.16 as the daily driver, I got hooked by Apple’s update notification. So I made a CCC clone right away and decided to test Catalina on this machine. The direct update resulted in failure.
Then I searched for “ThinkPad X230 Hackintosh EFI” on Google. Luckily I stumbled upon @littlegtplr’s repo on Github. Their EFI settings worked for my vanilla installation. Then I made some changes to the settings and decided to post my result on Reddit and GitHub.
Latest Updates
- I no longer use @littlegtplr’s settings. I’ve configured everything myself and updated the repo.
- Applicable to Catalina 10.15 ~ 10.15.2.
Without further ado, you can grab the EFI Folder (Clover), plist, and BOOT required to install/run Thinkpad X230 Hackintosh Catalina 10.15. Move these files to your EFI Folder. I’ve got another EFI folder labeled EFI-test. Feel free to tinker that also.
Download The EFI folder for ThinkPad X230
WiFi
Inbuilt intel-WiFi adapter won’t work out of the box. Atheros AR5B95, Lenovo part number 20002357 is a macOS supported/Lenovo-whitelisted card available for X230. You should add IO80211Family.kext to Kexts/Other after installing the card.
Alternatively, you can flash the BIOS and remove the whitelist if you plan to use Broadcom WLAN cards. Stick with a nano-USB WiFi adapter (something cheap based on Realtek) if you don’t want to alter your hardware.
What Else Doesn’t Work?
Fingerprint reader & card-reader.
Nota Bene:
- Proceed with caution.
- Kindly delete the RtWlanU & RtWlanU1827 kexts from kexts/Other folder.*
- These files are N/A for Opencore bootloader. Go ahead though, if you know what you’re doing.
- EFI-swap recommended. I haven’t tested these settings against the latest version of Clover.
*I added Realtek WLAN kexts to use with my Comfast USB Wi-Fi adapter. You should edit the configuration according to your preferences. The EFI folder is 100% applicable for the Vanilla approach and SSD hot-swap.
Dude, what’s an SSD hot-swap?
Half-arsed practice. This involves installing macOS Catalina on a real MacBook Pro and moving its SSD to an X230 after editing the EFI folder. It’s recommended to choose a machine similar to ThinkPad X230 in terms of CPU & hardware configuration, eg: mid-2012 MacBook Pro.
ThinkPad X230 macOS Catalina – Vanilla Installation Guide(s)
It doesn’t matter if you own a real Mac or not. I’ll share the installation guide for both macOS and Windows.
How to create a bootable macOS Catalina 10.15 USB install drive? (on macOS)
- Refer to this guide from 9to5mac.
- Download and install Clover to USB. Refer to this article for clarity.
- Install Clover Configurator, and mount the EFI partition. Then replace the EFI folder with the one on my repo.
How to create a bootable macOS Catalina 10.15 USB install drive? (on Windows)
- Install Transmac on a Windows machine. It has a 15-day trial period and works flawlessly flashing DMG files to USB.
- Download the macOS 10.15 with clover dmg file from here or other sources you come across Google SERP.
- Download the EFI folder from this GitHub repo.
- Download Clover Configurator for macOS (latest version).
- Connect a 16 GB USB flash drive.
- Open Transmac. In the left pane, right-click the USB Drive and select Format Disk for Mac
- Again in the left pane, right-click the USB Drive and select Restore with Disk Image. Then select the DMG file I mentioned in (2). The flashing process will take a few minutes depending on the size of .dmg and speed/port of the USB drive.
- Install DiskGenius.
- Locate the USB drive in DiskGenius. Delete the EFI folder and replace it with the new EFI folder.
- Plug the USB drive into the X230 and boot from USB.
- Format the disk drive to APFS, install macOS Catalina, and restart the system.
- Connect the Hackintosh system to the Internet via LAN cable, USB tethering or a Mac-compatible external WiFi adapter.
- Download & install Clover Configurator on MacOS. Open EFI partition and copy -> paste the EFI folder once more.
- You may use Karabiner-Elements if the keyboard mappings (command and option) are acting up.
FAQ.
- Please visit this Reddit thread.
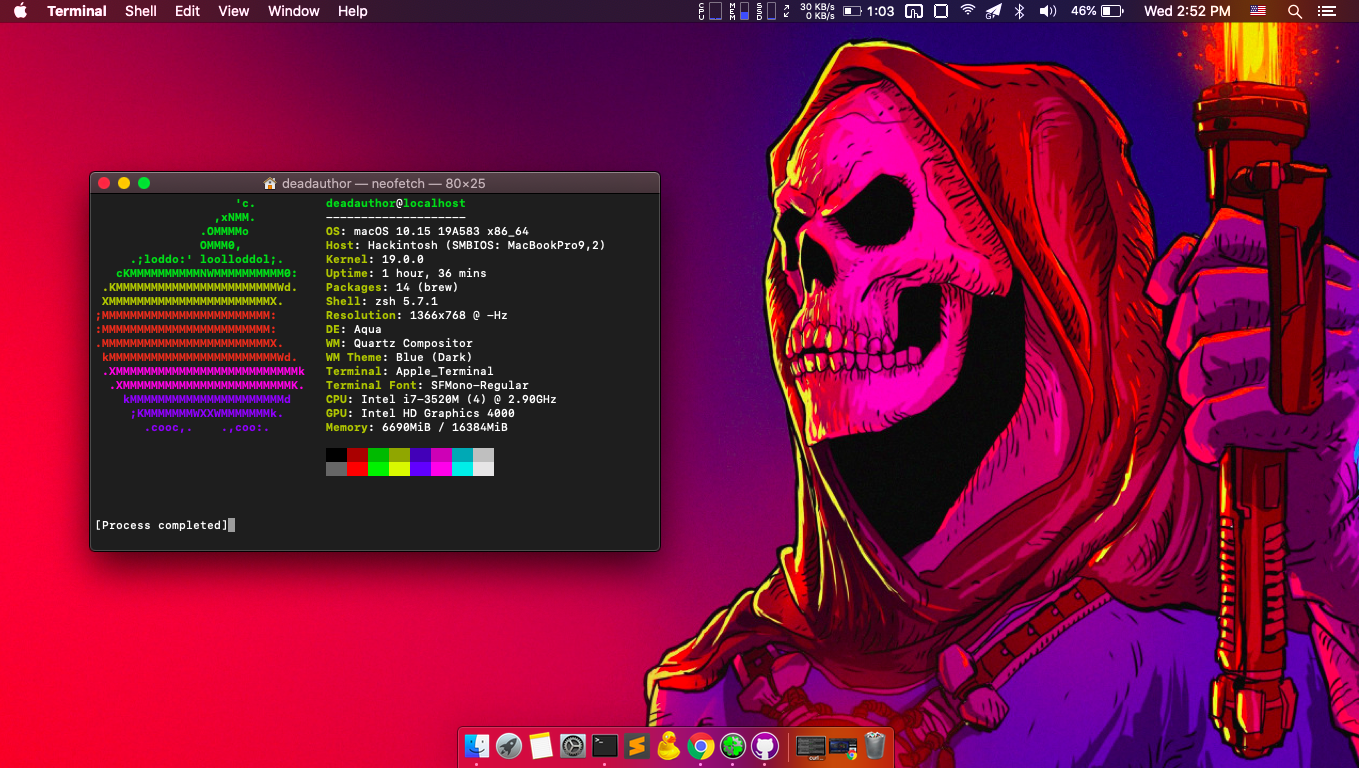
- I’ve used neofetch to display system specs via Terminal.
Tip Me: