
Shadowsocks is an open-source SOCKS5 proxy which, according to their official site, is designed to protect your internet traffic. As an expat in China, I have tried a few VPN services. The major downside of well-known providers is that their VPNs create one connection for all traffic (which is easier for China’s GFW to detect/block/slow down).
Recently, I tested Shadowsocks on an Ubuntu server based in Singapore and I must say I’m quite happy with SOCKS5 rather than the paid services. I know there are a bunch of tutorials out there on how to configure Shadowsocks. But, I’d like to be more precise providing the best tips and workarounds.
In this tutorial, you’ll learn how to install Shadowsocks and related packages on an Ubuntu server and bypass the Great Firewall of China. I’ve recently tested the script and packages in 2022, and it still works flawlessly.
Prerequisites
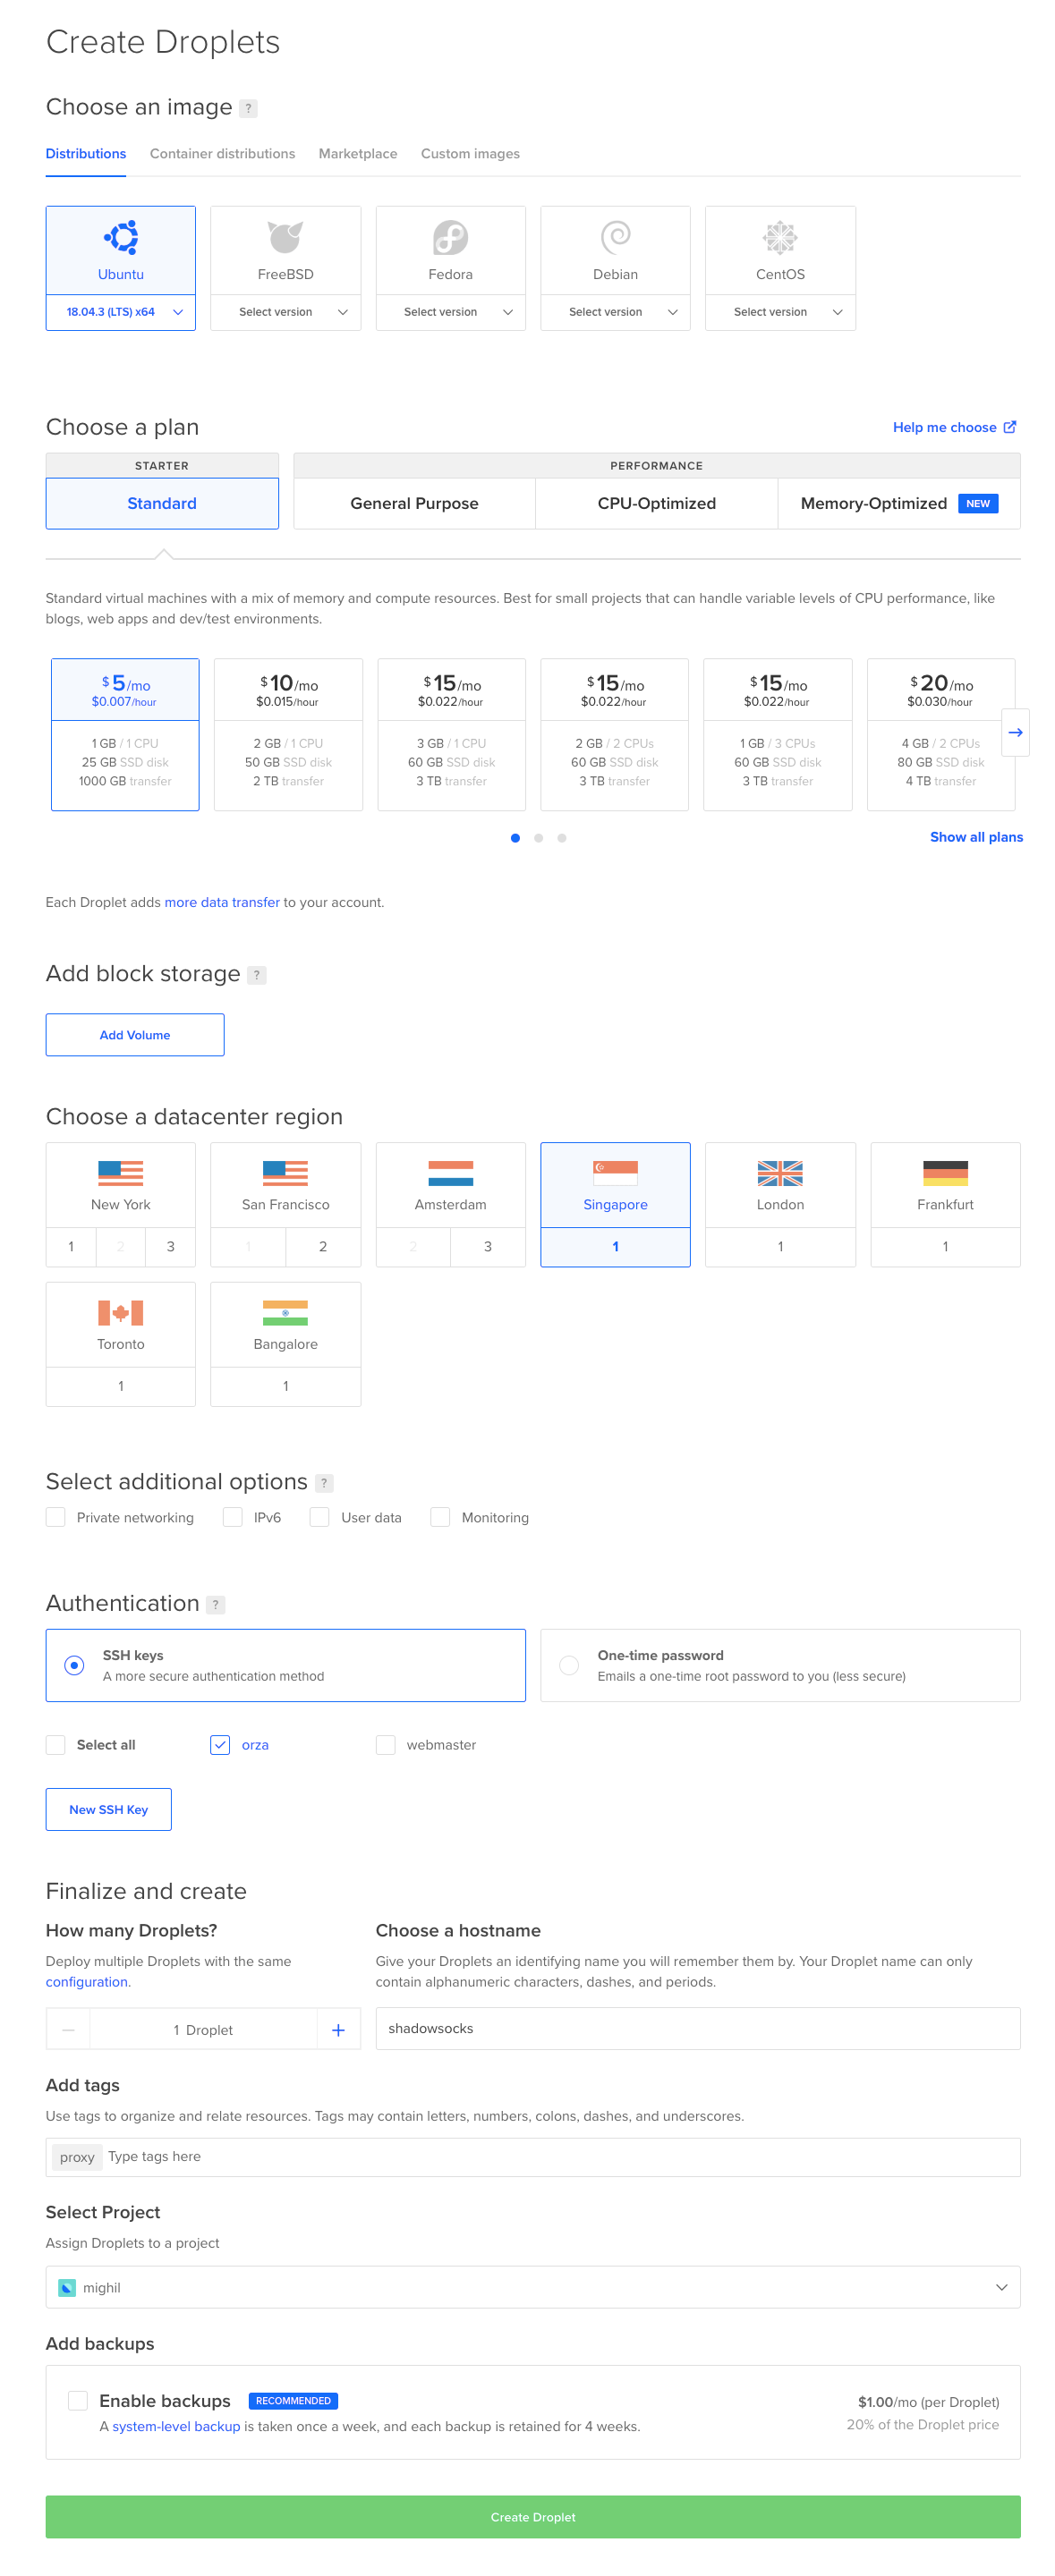
- A DigitalOcean droplet (preferably an Ubuntu or CentOS x64 server) / Cost: Starts from $5 per month. Feel free to sign-up with my referral link if you’re interested. Which should give you $100 credit for 60 days.
- Notepad++/Sublime Text Editor if you don’t prefer UNIX vi editor.
- SFTP/FTP client like WinSCP or Transmit for macOS if you prefer a GUI.
How To Create A New Droplet In DigitalOcean
Note: I highly recommend new users to generate/set-up SSH keys while creating a droplet as they provide a more secure way of logging into a virtual private server with SSH than using a password alone.
How To Install Shadowsocks on Ubuntu 21.10
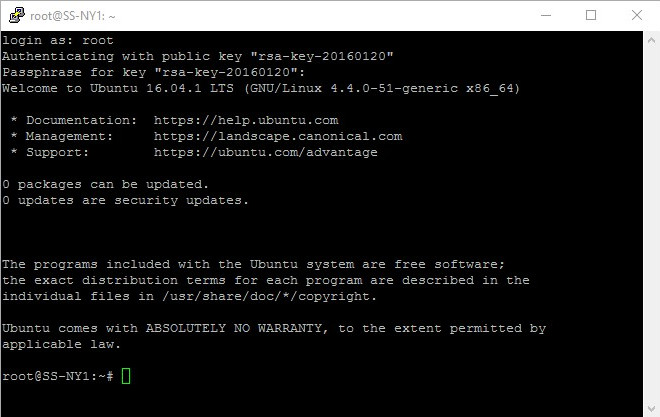
Let’s fire up putty or any other SSH client and log in to your server as root user.
Once you have logged in to the server, run the following command to update the packages:
sudo apt-get updateNow, run the following commands to install Shadowsocks:
sudo apt install shadowsocks-libevAfter finishing up the steps above, we must edit the .json file (config file) for Shadowsocks. In order to do this, fire up a command-line text editor OR access the folder via SFTP, open your GUI-based text editor and edit /etc/shadowsocks-libev/config.json.
If there’s no config.json located in /etc/shadowsocks-libev/ folder, create one by entering the following command in Terminal.
touch /etc/shadowsocks-libev/config.json
{
"server":"your_droplet's_IP_address",
"server_port":8000,
"local_port":1080,
"password":"your_password",
"timeout":600,
"method":"chacha20-ietf-poly1305"
}
It is recommended choose an encryption method (symmetric key cipher) from here. Save the config.json after finalizing your edits.
Now restart the Shadowsocks service and check the status. Run the following commands to do so:
# command to restart shadowsocks-libev
sudo systemctl restart shadowsocks-libev

# command to check the status of shadowsocks-libev
sudo systemctl status shadowsocks-libev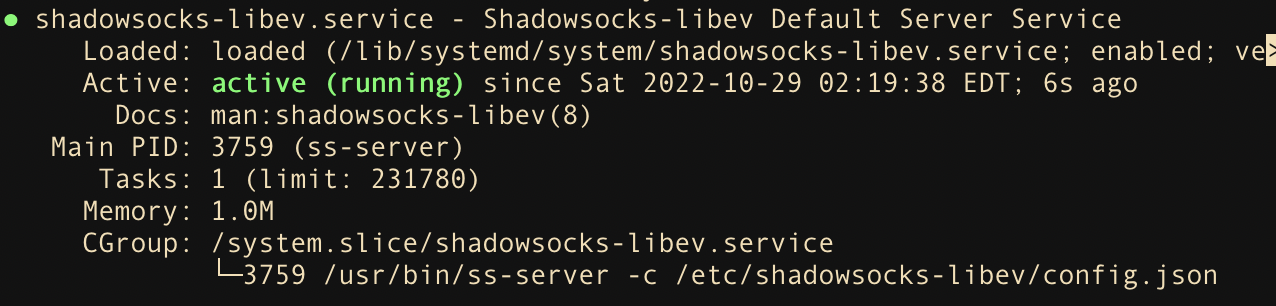
Use Ctrl + C to exit from the shadowsocks command line.
Now you’re ready to roll.
Shadowsocks Clients:
Check out the clients for different platforms listed on Shadowsock’s official website.
Donate
Support if you’d like by referring my resume or donating.