Let’s assume you’re not happy with the “wide range” of Google fonts. This blog post will teach you how to add Typekit fonts to your WordPress site manually without using a plugin. Skip introduction.
Typography Matters
Typography is all about adjusting the text within the design while creating compelling content. It provides an attractive appearance and preserves the aesthetic value of your content. It plays a vital role in setting the overall tone of your website and ensures a great user experience.
Why Adobe Typekit
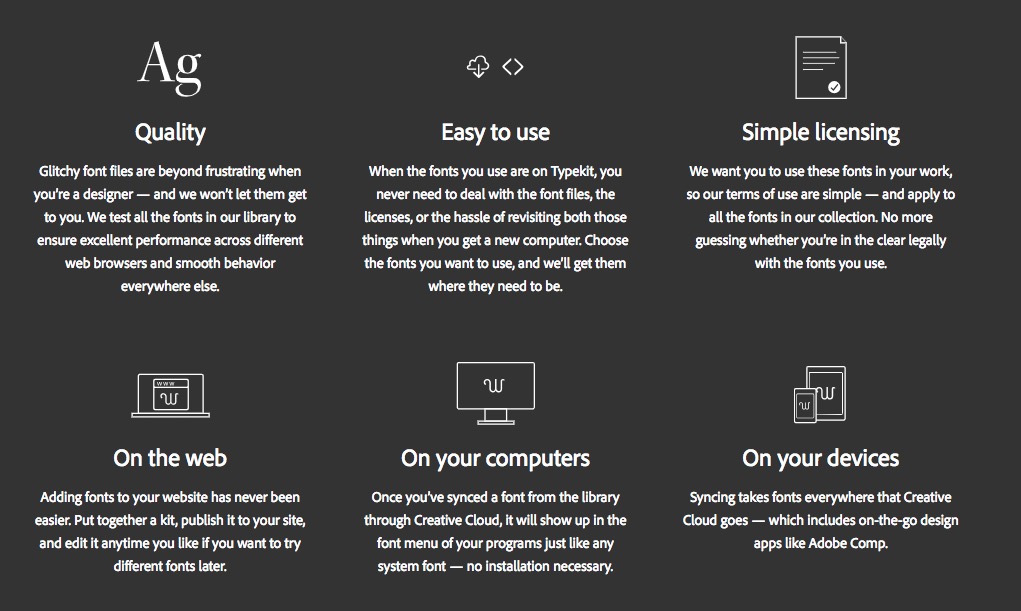
Adobe Typekit is a subscription service for fonts which you can sync to your computer or use on a website. Instead of licensing individual fonts, you can sign up for the plan that best suits your needs and get a library of fonts from which to choose.
This blog post will teach you how to add Typekit fonts to your WordPress site manually.
- You don’t need a third-party plugin to embed Typekit fonts on a WordPress website.
- Intended Audience: Intermediate WP users.
Add Typekit Fonts to A WordPress Website
Follow these steps precisely.
- Visit Typekit.com & create a Kit ID.
Select a plan and create a font kit for your website. Ignore this step if you have got the Typekit CSS or JS code in handy.
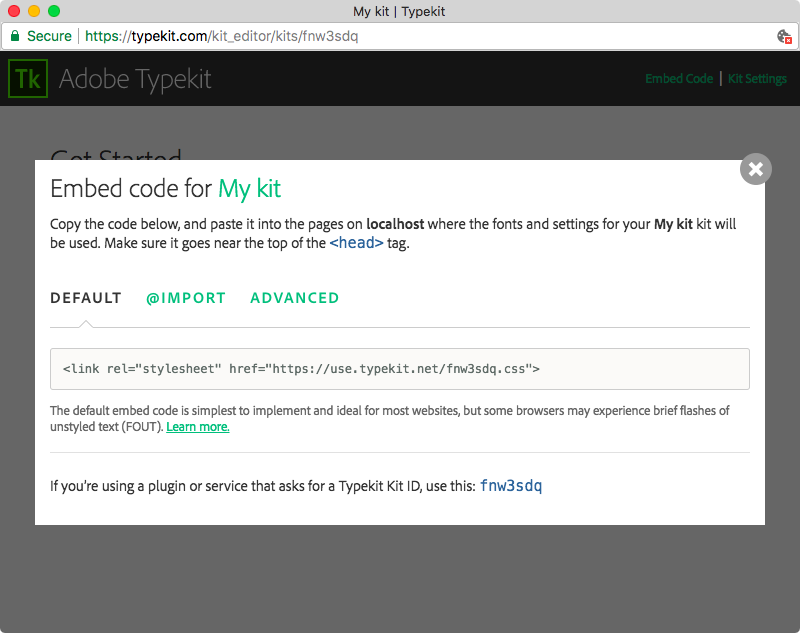
Credit: Adobe Help Center Copy the specific Kit ID for the web project; We’ll use this Kit ID in the next step.
- Open the Theme Editor.
Visit Appearance → Theme Editor and edit the Theme Header (header.php) file.
Copy and paste the following code anywhere between <head> and </head>.
Replace fnw3sdq with your Adobe Typekit Kit ID.
<!-- BEGIN Typekit Fonts for WordPress -->
<link rel="stylesheet" href="https://use.typekit.net/fnw3sdq.css">
<!-- END Typekit Fonts for WordPress -->
- Set Custom CSS Rules.
Style rule varies according to the WordPress theme you’re using. Visit Appearance → Customizer and look for the Additional CSS section.
Here’s an example, just for reference:
h1, h2, h3, h4, h5, h6 {
text-transform: none;
font-family: "sofia-pro",sans-serif;
font-weight: 600;
}

body, button, input, select, textarea {
font-family: proxima-nova;
font-weight: 400;
text-transform: none;
}
The set of CSS rules should be customized according to your current theme and its preferences.
Happy styling! Feel free to comment if you need any guidance. Contact me by email if you prefer dedicated support.
Need help?
Please tip me. I’ll help you set any Typekit font on your WordPress website.